Redesigning your home can feel overwhelming—too many ideas, too many trends, and no clear starting point. If you’re searching for a practical, easy-to-follow home redesign step by step guide, you want clarity, structure, and results you’ll actually love living with.
This article is built to walk you through the entire process—from defining your vision and setting a realistic budget to choosing layouts, color palettes, furniture, lighting, and finishing touches that elevate your space. Whether you’re refreshing a single room or transforming your entire home, you’ll find actionable steps that eliminate guesswork and help you move forward with confidence.
Our guidance is rooted in proven interior design principles, modern styling techniques, and space optimization strategies used by professionals. We’ve analyzed current decor trends, functional layouts, and practical design solutions to ensure every recommendation is both stylish and livable.
By the end, you’ll have a clear roadmap to redesign your home efficiently, beautifully, and with purpose.
Starting a home redesign is thrilling. But have you ever felt excitement turn into overwhelm? Without a clear plan, budgets balloon, decisions pile up, and the final reveal looks nothing like the Pinterest board (sound familiar?).
So where do you begin?
A home redesign step by step guide turns chaos into clarity. First, define vision. Next, set budget. Then, map timeline.
| Step | Focus |
|---|---|
| Vision | Style and function |
| Budget | Realistic numbers |
| Timeline | Clear milestones |
With structure, your dream becomes a blueprint—and blueprint becomes reality.
Step 1: Defining Your Vision and Scope
Every successful space begins with clarity, not paint swatches. Start by gathering inspiration through a tightly edited mood board using Pinterest or physical samples. The goal isn’t endless scrolling (we’ve all fallen down that rabbit hole); it’s identifying a consistent theme, color palette, and overall feeling. Focus beats volume every time. Many guides stop there. We go further by mapping each image to a practical outcome—texture, lighting style, storage solution—so inspiration translates into action.
Next, define functionality. Ask: Who uses this space daily? What activities happen here? Where are the pain points—clutter, poor lighting, awkward layouts? Write answers down.
Finally, set scope. Is this cosmetic—paint and furniture—or structural, like moving walls or plumbing? Clear boundaries prevent scope creep and protect budgets. This disciplined framing anchors your home redesign step by step guide. Pro tip: document exclusions in writing before buying materials or booking contractors to avoid expensive misunderstandings later altogether.
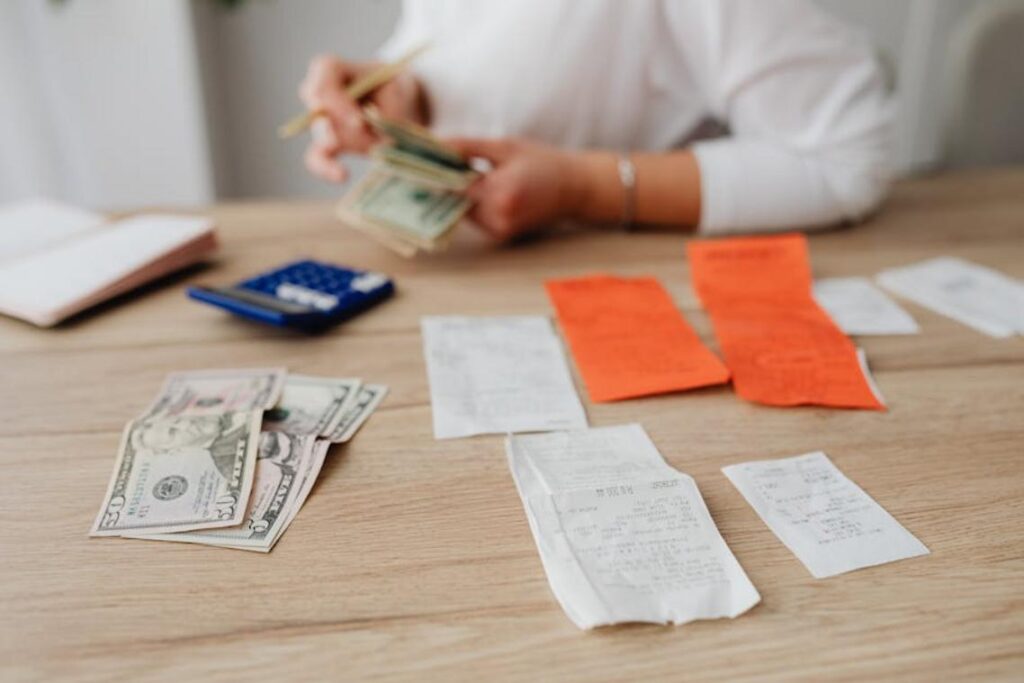
Step 2: Crafting a Realistic Redesign Budget
Start with an anecdote about underestimating paint costs. The first time I redesigned a living room, I thought, “It’s just paint and a couch.” Two weeks later, I was pricing light fixtures I hadn’t planned for (and questioning my life choices).
First, itemize everything. Break your budget into materials (flooring, paint), fixtures (lighting, faucets), furniture, labor if you’re hiring help, and permits. Materials are the physical building supplies; fixtures are items attached to the home, like sinks or sconces. Seeing categories clearly prevents “mystery spending.”
Next, follow the 15–20% contingency rule. A contingency fund is extra money reserved for surprises—like hidden water damage or backordered tile. Experts consistently recommend this buffer to reduce financial strain during renovations (Houzz, 2023).
Finally, decide where to save versus splurge. Invest in high-touch items like countertops and hardware. Save on decor accents you can upgrade later. When following a home redesign step by step guide, this balance keeps style—and sanity—intact.
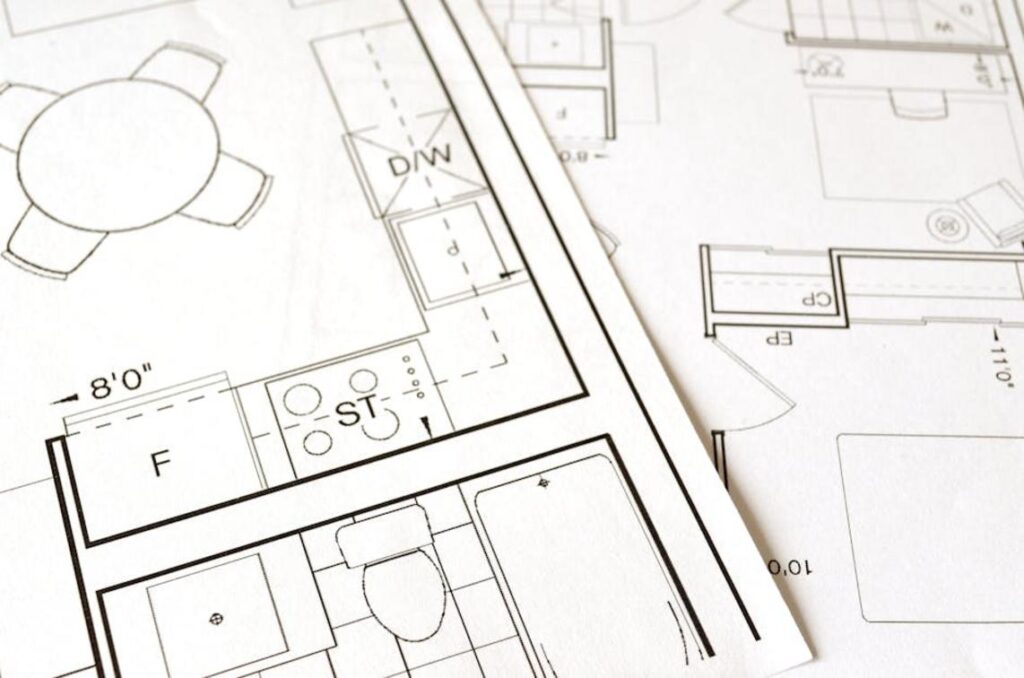
Step 3: Mastering Your Space with a Solid Floor Plan
The first time I redesigned my living room, I skipped measuring. Big mistake. The sofa blocked half the doorway (and my pride). That’s when I learned: measure everything twice.
Start with wall-to-wall dimensions, then note window and door placements, ceiling height, and electrical outlets. Ceiling height matters because vertical space (unused wall height above furniture) is prime real estate for storage. Door swings affect traffic flow—the natural walking paths people take through a room (think of it like invisible highways).
Creating a Layout That Actually Works
You don’t need fancy software. I’ve used plain graph paper—one square equals one foot. Free online planners work too. The goal? Clear pathways of at least 30–36 inches (recommended by design guidelines from the NKBA). That breathing room keeps a space functional instead of frustrating.
If you’re following a home redesign step by step guide, this is the phase where patience pays off.
For a deeper walkthrough, explore room by room interior design planning for beginners.
Space Optimization Hacks
Multi-functional furniture (like storage ottomans) reduces clutter. Vertical shelving draws the eye upward. Strategically placed mirrors amplify light and depth—a trick designers have used for centuries (Versailles knew what it was doing).
Some argue floor plans limit creativity. I disagree. Constraints sharpen vision. Pro tip: float furniture slightly away from walls to create a designer feel.
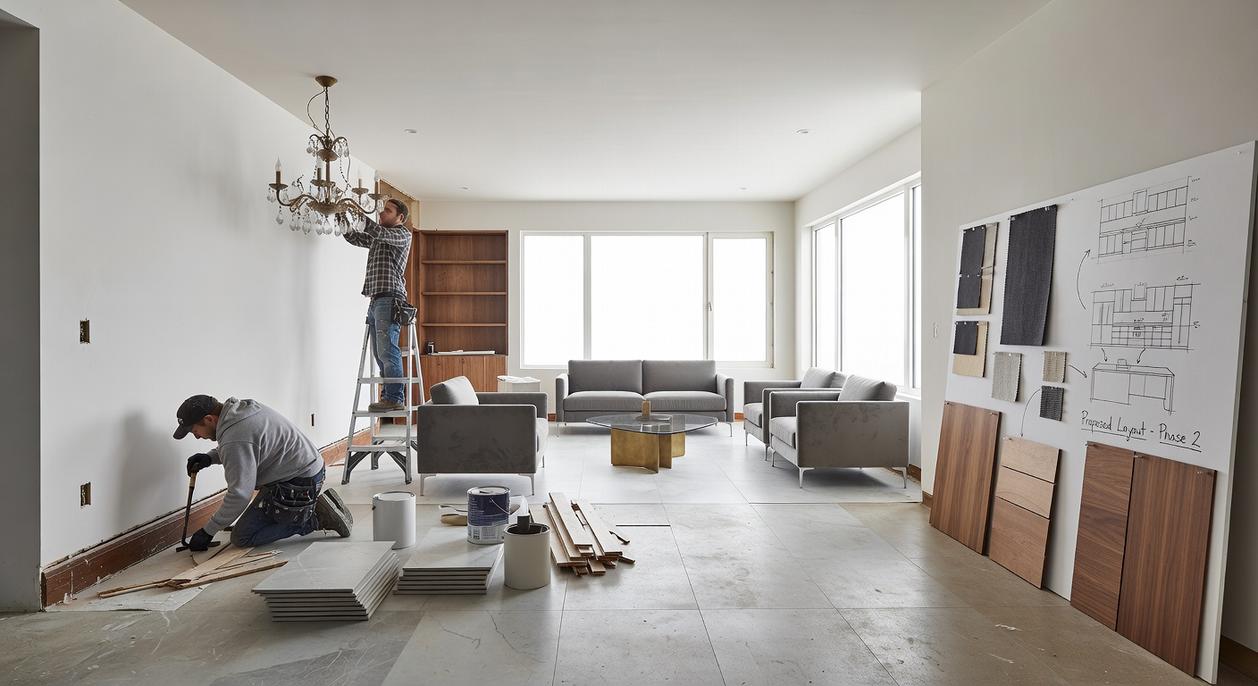
Step 4: Selecting Materials and Finishes That Last
Great design isn’t just about what looks good today—it’s about what still works five years from now. This step in your home redesign step by step guide is where style meets real life.
Building a Sample Library
Ordering physical samples is non‑negotiable. Paint chips, tile pieces, fabric swatches, flooring planks—see them in your actual space. Morning light vs. evening ламplight can completely shift undertones (that “warm gray” might suddenly look lavender). Pro tip: place samples next to fixed elements like countertops to avoid expensive mismatches later.
Durability vs. Aesthetics: A Side‑by‑Side Look
- Hardwood vs. Luxury Vinyl Plank (LVP): Hardwood offers timeless appeal, but LVP resists scratches and moisture better—ideal for pets or kids.
- Marble vs. Quartz: Marble delivers natural drama; quartz wins on stain resistance and low maintenance.
- Light Fabrics vs. Performance Fabrics: Light linen feels airy, while performance blends handle spills like a champ.
Some argue you should always choose the most durable option. But ultra‑practical can feel sterile. The key is aligning materials with lifestyle, not fear.
Creating Cohesion
Stick to a consistent color palette and balance textures—smooth with rough, matte with gloss. Think of it like casting a movie: every material plays a role, but they need chemistry to shine together.
Step 5: Assembling Your Team: DIY vs. Hiring Professionals
Before grabbing a sledgehammer (very HGTV of you), pause.
Assessing Your Skills
- Do you have the time weekly?
- Own the right tools?
- Comfortable reading permits and codes?
- Confident fixing mistakes?
If you hesitated, that’s data.
When to Call a Pro
Electrical rewiring, plumbing relocations, structural wall removal, and complex tiling demand licensed experts. These aren’t “learn on YouTube” moments. Safety and resale value depend on it.
Finding the Right Help
Check references, review portfolios, and demand written quotes.
Next, revisit your home redesign step by step guide and map who handles what—before demo day begins.
Redesign chaos usually starts with paint swatches and Pinterest dreams, but without structure it spirals into missed measurements and blown budgets. Instead, follow a home redesign step by step guide professionals use on real job sites, from Brooklyn brownstones to suburban remodels. First, clarify your vision; next, lock in a realistic budget accounting for contractor markups; then, refine layout, materials, and your team. In short, stick to this framework: 1. Vision 2. Budget 3. Layout 4. Materials 5. Team. Now, you have the same roadmap designers rely on. So, start today—measure one room or build a fresh board. Begin now.
Bring Your Vision to Life with Confidence
You started this journey looking for clarity, direction, and practical steps to transform your space. Now you have a clear roadmap — from defining your style and optimizing layout to layering textures, lighting, and finishing details with purpose.
Redesigning a home can feel overwhelming. Too many choices. Too many trends. Too many costly mistakes waiting to happen. But with a structured home redesign step by step guide, you eliminate guesswork and replace stress with confidence.
The key is simple: plan intentionally, prioritize functionality, and execute each phase with clarity. Small, thoughtful upgrades can completely change how your home looks and feels.
If you’re ready to stop second-guessing your design decisions and finally create a space that feels cohesive and elevated, now is the time to act. Explore our expert-backed styling insights, proven layout strategies, and trend-forward decor tips trusted by thousands of home enthusiasts.
Start your redesign today and turn your vision into a space you truly love.
 Director of Community & Partnerships
Ask Eloria Esthova how they got into decor trends and shifts and you'll probably get a longer answer than you expected. The short version: Eloria started doing it, got genuinely hooked, and at some point realized they had accumulated enough hard-won knowledge that it would be a waste not to share it. So they started writing.
What makes Eloria worth reading is that they skips the obvious stuff. Nobody needs another surface-level take on Decor Trends and Shifts, Space Optimization Hacks, In-Depth Guides. What readers actually want is the nuance — the part that only becomes clear after you've made a few mistakes and figured out why. That's the territory Eloria operates in. The writing is direct, occasionally blunt, and always built around what's actually true rather than what sounds good in an article. They has little patience for filler, which means they's pieces tend to be denser with real information than the average post on the same subject.
Eloria doesn't write to impress anyone. They writes because they has things to say that they genuinely thinks people should hear. That motivation — basic as it sounds — produces something noticeably different from content written for clicks or word count. Readers pick up on it. The comments on Eloria's work tend to reflect that.
Director of Community & Partnerships
Ask Eloria Esthova how they got into decor trends and shifts and you'll probably get a longer answer than you expected. The short version: Eloria started doing it, got genuinely hooked, and at some point realized they had accumulated enough hard-won knowledge that it would be a waste not to share it. So they started writing.
What makes Eloria worth reading is that they skips the obvious stuff. Nobody needs another surface-level take on Decor Trends and Shifts, Space Optimization Hacks, In-Depth Guides. What readers actually want is the nuance — the part that only becomes clear after you've made a few mistakes and figured out why. That's the territory Eloria operates in. The writing is direct, occasionally blunt, and always built around what's actually true rather than what sounds good in an article. They has little patience for filler, which means they's pieces tend to be denser with real information than the average post on the same subject.
Eloria doesn't write to impress anyone. They writes because they has things to say that they genuinely thinks people should hear. That motivation — basic as it sounds — produces something noticeably different from content written for clicks or word count. Readers pick up on it. The comments on Eloria's work tend to reflect that.