If you’re searching for a clear, practical way to transform your space without costly mistakes, this home redesign planning guide is built for you. Redesigning a home can feel overwhelming—between choosing the right layout, balancing aesthetics with functionality, and staying within budget, it’s easy to lose direction before you even begin.
This article simplifies the process. You’ll learn how to define your vision, prioritize upgrades, optimize your space, and apply modern interior techniques that elevate both style and comfort. Whether you’re refreshing a single room or reimagining your entire home, the goal is to help you plan with confidence and clarity.
The insights shared here are grounded in proven home styling principles, current decor trends, and practical space optimization strategies used by experienced interior enthusiasts. By the end, you’ll have a structured plan that turns inspiration into action—so your redesign feels intentional, cohesive, and truly reflective of your lifestyle.
Your dream home starts with a spark of excitement—and a flicker of overwhelm. I remember standing in my living room, paint swatches in hand, wondering where to begin. It felt thrilling and chaotic all at once. This article is your home redesign planning guide, built to turn that chaos into clarity.
We’ll walk through:
- Finding inspiration that reflects you
- Creating a realistic budget and timeline
- Executing with confidence and flexibility
A solid plan is your most powerful tool (trust me, I learned the hard way). With structure in place, your redesign becomes manageable, actionable, and beautifully yours. Start with intention.
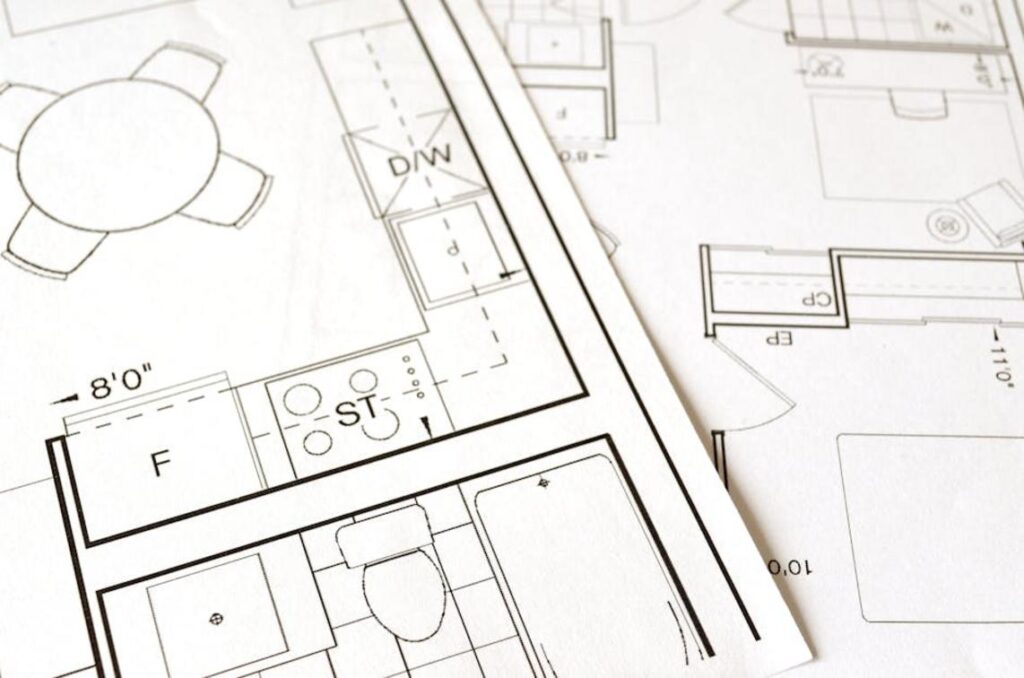
Step 1: Defining Your Vision and Scope
Before you pick up a paint swatch, ask why you’re redesigning. Is it a lack of storage, awkward traffic flow, or a style that feels stuck in 2012? Defining the core problem (the root issue your redesign should solve) gives you clarity and saves money later. After all, a beautiful room that still frustrates you daily isn’t much of a win.
Next, gather inspiration. Create mood boards on Pinterest or flip through magazines to pinpoint your aesthetic—modern, minimalist, bohemian, or something in between. This step sharpens your taste and prevents “design drift” (when your space starts looking like five trends fighting for attention). The benefit? A cohesive result that feels intentional, not accidental.
Then, separate functional needs from aesthetic wants. Space optimization hacks—like vertical shelving or hidden storage—often improve daily life more than wallpaper. Prioritizing function ensures your redesign works as good as it looks.
Finally, set your scope. Write down must-haves and nice-to-haves to avoid scope creep (the tendency for projects to expand beyond their plan). A list keeps budgets and timelines sane. If you need structure, follow a home redesign planning guide to stay focused. The payoff is confidence and control.
Step 2: Mastering the Budget Without Compromise
A detailed budget is your project’s blueprint for spending. Break costs into clear categories: labor (contractors, installers), materials (tile, paint, lumber), furniture, fixtures (built-ins, plumbing, lighting), and a contingency fund of 15–20%. A contingency fund is simply a financial buffer for surprises—because there are always surprises (yes, even in “simple” remodels).
Researching costs means more than one estimate. Get at least three quotes for labor and compare material prices across local suppliers and online retailers. Pro tip: ask contractors what typically goes over budget in projects like yours; their answers reveal hidden costs before they happen.
When deciding where to splurge, prioritize high-impact, high-use items like countertops and flooring. These endure daily wear and influence resale value. Save on decorative lighting or textiles—elements that are easier and cheaper to swap later. Some argue you should cut costs evenly across categories to stay “balanced.” That sounds logical, but equal cuts often weaken the elements you use most.
Track expenses in real time using a simple spreadsheet. Log every invoice and receipt weekly (future you will be grateful). For broader planning, review this step by step guide to creating a cohesive interior style and align it with your home redesign planning guide.
Speculation: As material costs fluctuate, flexible budgets will likely become the norm rather than the exception.
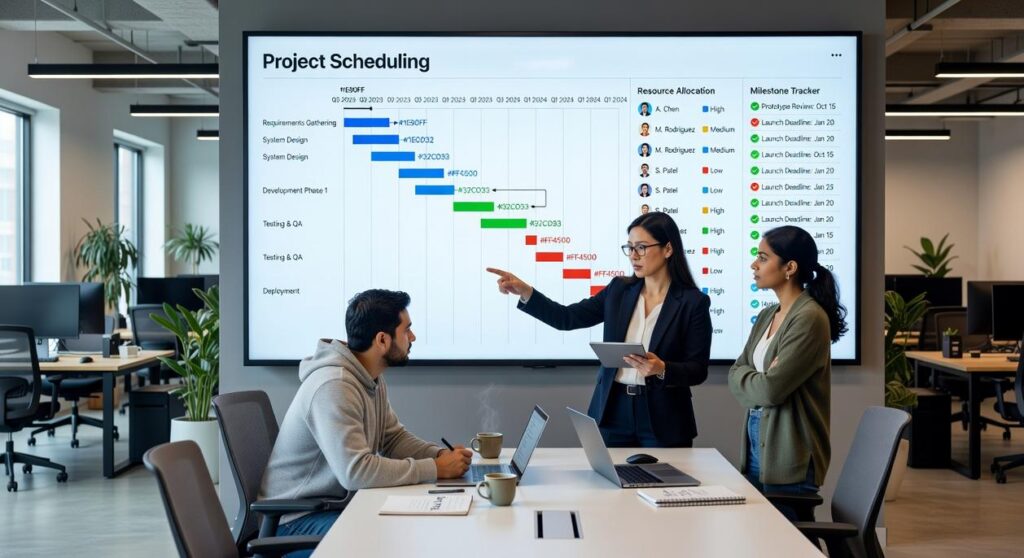
Step 3: Building a Realistic Project Timeline
Every successful remodel follows a clear sequence: planning, demolition, construction (plumbing and electrical), finishing (drywall and paint), and final installation. Think of it like dominoes—tip one too early and the rest fall out of order (and not in a satisfying HGTV way).
Understanding dependencies is crucial. Plumbing and electrical must be completed—and inspected—before drywall goes up. Cabinets can’t be installed before flooring levels are finalized. Each phase relies on the one before it.
Factoring in lead times is where many timelines unravel. Custom furniture, specialty tile, or backordered fixtures can add weeks. Contractor availability fluctuates seasonally.
Add buffer time—at least 10–20%—for surprises like hidden water damage or delayed permits. (Pro tip: assume one unexpected issue will happen.)
Looking ahead, it’s reasonable to speculate that supply chain volatility may continue, making proactive ordering essential. A detailed home redesign planning guide can help you anticipate these shifts and adapt intelligently.
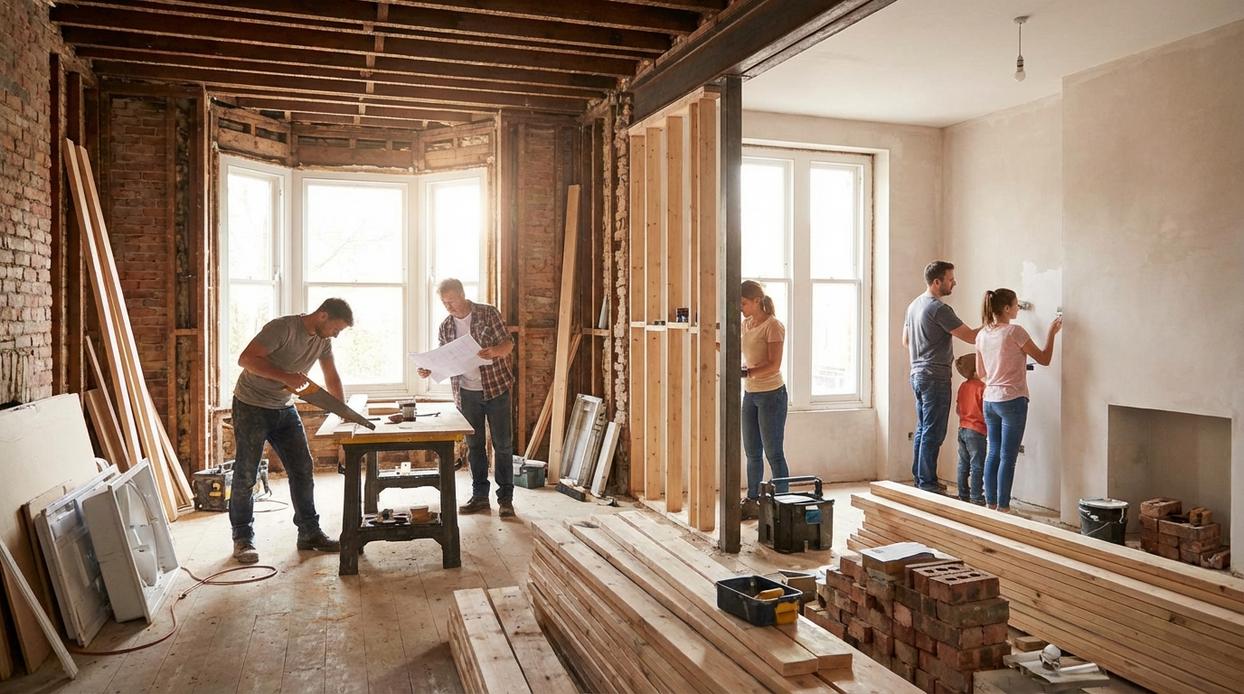
Step 4: Assembling Your Team: DIY vs. Hiring Professionals
Let’s challenge a popular belief: you don’t need to hire a pro for everything. However, you also shouldn’t treat YouTube like trade school. The key is an honest skill assessment.
Painting walls, swapping hardware, or installing floating shelves? Generally DIY-friendly. Electrical rewiring, structural changes, or major plumbing? That’s licensed-professional territory (and often legally required). According to the U.S. Consumer Product Safety Commission, electrical failures are a leading cause of home fires—hardly the place to “learn as you go.”
Now, who does what? An interior designer focuses on aesthetics, layouts, and finishes. An architect handles structural planning and code compliance. A general contractor manages trades, timelines, and execution. Contrary to HGTV lore, you likely don’t need all three—unless you’re moving walls or changing your home’s footprint.
Next, vetting. Always:
- Verify licenses and insurance
- Request references (and actually call them)
- Review portfolios
- Get at least three written bids
Then—equally important—insist on a detailed contract. It should outline scope, timeline, materials, payment schedule, and change-order procedures. This protects both sides (yes, contractors appreciate clarity too).
Finally, use your home redesign planning guide to map tasks before hiring. Pro tip: clear plans reduce “surprise” costs by minimizing mid-project pivots. In short, DIY smartly—but delegate strategically.
From blueprint to beautiful—that’s the journey. And as we’ve seen, a successful home redesign is born from meticulous planning, not chance. When projects spiral into missed deadlines, budget overruns, and last‑minute decisions (hello, paint samples at 10 p.m.), the root cause is almost always the same: lack of structure.
That’s precisely why a clear framework matters. By following a home redesign planning guide, you’ve replaced guesswork with direction. Instead of reacting to problems, you’re anticipating them. In turn, that means fewer surprises and far more satisfying results.
Now, here’s a bit of informed speculation: as smart‑home tech and sustainable materials become standard rather than luxury, future redesigns will likely demand even more upfront coordination. Planning won’t just be helpful—it’ll be essential.
So take a breath. You’re not stepping into chaos; you’re stepping into a plan. Your plan is complete. The next step is to take that first exciting action—whether it’s clearing out the room or calling your first contractor.
As you embark on transforming your space, be sure to check out our article on Interior Mintpalhouse for inspiring ideas that perfectly complement your home redesign journey.
Bring Your Vision to Life with Confidence
You started this journey because redesigning your home felt overwhelming — too many ideas, not enough clarity, and the fear of making costly mistakes. Now, you have the structure, inspiration, and practical direction to move forward with confidence.
With this home redesign planning guide, you’re no longer guessing. You understand how to align your style with functionality, optimize your space, and make intentional design choices that truly reflect your vision. That uncertainty you felt at the beginning? It’s been replaced with a clear, actionable plan.
The next step is simple: put your plan into action. Start mapping out your priorities, set your redesign timeline, and apply the strategies you’ve just learned. If you want even more expert-backed decor insights, trend updates, and space-saving techniques trusted by thousands of modern homeowners, explore our top-rated resources today.
Your dream space isn’t out of reach — it’s one well-planned decision away. Take the first step now and transform your home with confidence.
 Head of Content Strategy
There is a specific skill involved in explaining something clearly — one that is completely separate from actually knowing the subject. Fredrickien Hunteron has both. They has spent years working with decor trends and shifts in a hands-on capacity, and an equal amount of time figuring out how to translate that experience into writing that people with different backgrounds can actually absorb and use.
Fredrickien tends to approach complex subjects — Decor Trends and Shifts, Pal Modern Interior Techniques, Space Optimization Hacks being good examples — by starting with what the reader already knows, then building outward from there rather than dropping them in the deep end. It sounds like a small thing. In practice it makes a significant difference in whether someone finishes the article or abandons it halfway through. They is also good at knowing when to stop — a surprisingly underrated skill. Some writers bury useful information under so many caveats and qualifications that the point disappears. Fredrickien knows where the point is and gets there without too many detours.
The practical effect of all this is that people who read Fredrickien's work tend to come away actually capable of doing something with it. Not just vaguely informed — actually capable. For a writer working in decor trends and shifts, that is probably the best possible outcome, and it's the standard Fredrickien holds they's own work to.
Head of Content Strategy
There is a specific skill involved in explaining something clearly — one that is completely separate from actually knowing the subject. Fredrickien Hunteron has both. They has spent years working with decor trends and shifts in a hands-on capacity, and an equal amount of time figuring out how to translate that experience into writing that people with different backgrounds can actually absorb and use.
Fredrickien tends to approach complex subjects — Decor Trends and Shifts, Pal Modern Interior Techniques, Space Optimization Hacks being good examples — by starting with what the reader already knows, then building outward from there rather than dropping them in the deep end. It sounds like a small thing. In practice it makes a significant difference in whether someone finishes the article or abandons it halfway through. They is also good at knowing when to stop — a surprisingly underrated skill. Some writers bury useful information under so many caveats and qualifications that the point disappears. Fredrickien knows where the point is and gets there without too many detours.
The practical effect of all this is that people who read Fredrickien's work tend to come away actually capable of doing something with it. Not just vaguely informed — actually capable. For a writer working in decor trends and shifts, that is probably the best possible outcome, and it's the standard Fredrickien holds they's own work to.